Protractor – Angle Measuring Tool
Although an online protractor is great for digital objects or pictures, a printable protractor is useful when measuring angles for real objects. Before going into more details, let’s see what a protractor is.
What is a protractor
Definition: A protractor is a measuring tool made from different materials, typically plastic, glass or metal (in our case, paper), and it’s used for measuring, drawing or plotting angles. Measuring angles with a protractor is usually done in degrees (°) and sometimes in radians (rad or c). There are protractors divided into different parts, but the must commons are divided in 180 equal parts (half of circle or half-disc). You may also find some that are divided in 90 (quarter of a circle) and 360 (full circle) equal parts. There are also protractors that are built for precision which further divide degrees into arcminutes. An arcminute is the 60th part of a degree. So 1° (degree) = 60 arcminutes and 1 arcminute = 60 arcseconds.

A protractor is commonly used in geometry lessons by elementary school students where they learn how to measure angles. Protractors have traditionally been one-sided with many have one or two scales. The outer scale starts from 0° to 180° going clockwise (left to right) while the inner scale starts from 0° to 180° going anti-clockwise (right to left). It has a baseline that points to 0° and 180° for both scales and in the middle of the base line you will notice the center that you can place on a vertex to measure an angle.

How to use a protractor to measure angles
To measure angles using a protractor it’s a pretty straightforward process. Just place the protractor with it’s center on the vertex and the baseline on a line while taking into account the side of which the angle opens up in order to use the correct scale.
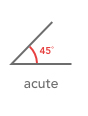
In this example, we measured an acute 45 degree angle ACT using the inner scale because it opens up to the right.

Observation: You may have a different marked protractor and this example won’t match with what your marker shows. Don’t worry, just use the right scale based on how the angle opens up after you placed your protractor’s center on the vertex and aligned the baseline on one of the lines.
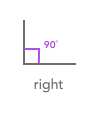
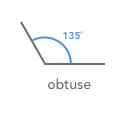
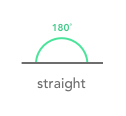
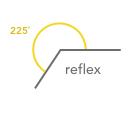
Now that you have started learning how to measure an angle using a protractor, it would not hurt to know how the angles are called. Starting from the smallest, is the acute angle which is an angle bigger than 0 and smaller than 90 degrees (right angle). The next one is the right angle which has an angle of 90°. The angle bigger than 90 degrees and smaller than 180° is called obtuse angle. The 180° angle is called straight angle while the one bigger than it but smaller than a full rotation is called a reflex angle.
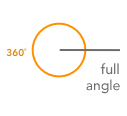
| < 90° | = 90° | > 90° & < 180° | = 180° | > 180° & < 360° | = 360° |
|---|---|---|---|---|---|
| acute angle | right angle | obtuse angle | straight angle | reflex angle | full angle |
Types of protractors
Although there are quite a few types of protractors such as semicircular, circular, military, Steel, Universal Vernier Bevel or Optical Bevel, we are going to cover just the first two because you will only be able to print those.
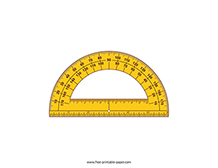
Semicircular
The semicircular protractor contains two scales, inner and outer, each marked up to 180 degrees in opposite directions in order to be able to read from both left and right. The protractor baseline’s mid-point mark indicates the position of the vertex. You can use this type of protractor for reading, drawing and plotting angles on paper or charts. It’s mostly used for school assignments. Our site has different designed protractors that you can choose from.

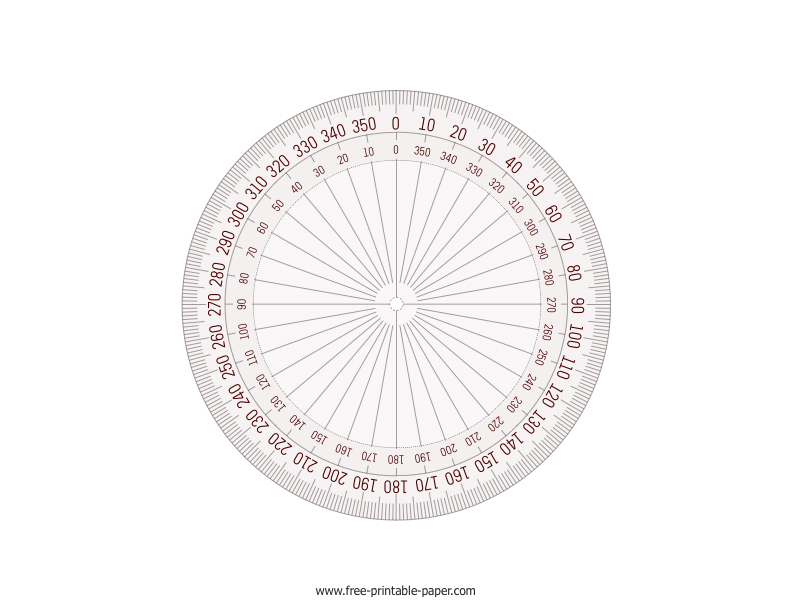
Circular
A circular protractor (360°) has the shape of a circle with it’s scale marked up to 360 degrees in a clockwise direction from the astronomical north reference point. Compared to the semicircular one, this tool finds little use in school, but is commonly used in engineering, architecture and meteorology fields. You may also see protractors with a compass drawn inside of it.
and “Add to Favorites”
Latest Templates
-
 Printable Protractor With Ruler
A useful angle measuring instrument.
-
 Printable 6 Inch Ruler
Kids in school can use this accurate ruler.
-
 Printable MM Ruler
Usually used to measure straight lines.
-
 Triangle CM Ruler
A neat ruler for drawing right angles.
-
 Printable Ring Sizer
A paper tool used to measure your ring size.